In this article, we will guide How to mount Projector to Ceiling. We will detail how to select, install, and maintain a ceiling-mounted projector. We’ll even touch on the nuances of cable management and ventilation needs that are often overlooked in less advanced tutorials.
If you’re craving a cinematic experience from the comfort of your own home, or if you’re setting up an immersive presentation environment at work, mounting a projector to your ceiling can make all the difference. But don’t be fooled into thinking this is an elementary task; it requires a fine-tuned blend of technical skills, meticulous planning, and a keen eye for aesthetics.
Whether you’re a seasoned tech professional, a dedicated home theater enthusiast, or someone who values precision and perfection in every task, this guide will provide you with a comprehensive path to projector mounting mastery. Read on to transform your ceiling into the fulcrum of high-quality, immersive visual experiences.
1. Choosing the Right Projector and Mount
Your projector and mount choice depends on room size, ceiling type, and viewing preferences.
Room Size and Ceiling Type: Measure the distance from the ceiling to the preferred screen area. This measurement, along with the room size, helps determine the projector’s throw distance (the distance a projector needs to display a certain sized image). Consult your projector’s specifications to verify its throw ratio.
Viewing Preferences: If you are a cinephile seeking a cinema-like experience, opt for a projector with high resolution (HD or 4K) and brightness. For gaming or business presentations, look for a projector with a high refresh rate to ensure smooth movement.
Mount Type: Universal mounts are typically a safe bet as they accommodate a wide variety of projectors. Ensure the mount can support your projector’s weight and is compatible with your ceiling type (flat, vaulted, drop ceilings).
2. Necessary Tools
You’ll require the following:
- Tape Measure
- Pencil for marking
- Drill
- Screwdrivers
- Stud Finder
- Cable clips
- Level
- Ladder
3. Mounting the Projector
Marking the Ceiling: First, locate the desired screen’s center. Then, with the projector’s throw distance in mind, measure and mark the exact point on the ceiling where the mount will go. Use a stud finder to ensure the mount attaches to a stud for maximum stability.
Attaching the Mount: Pre-drill the holes according to the mount’s template, then attach the mount using the appropriate screws. Ensure it’s level.
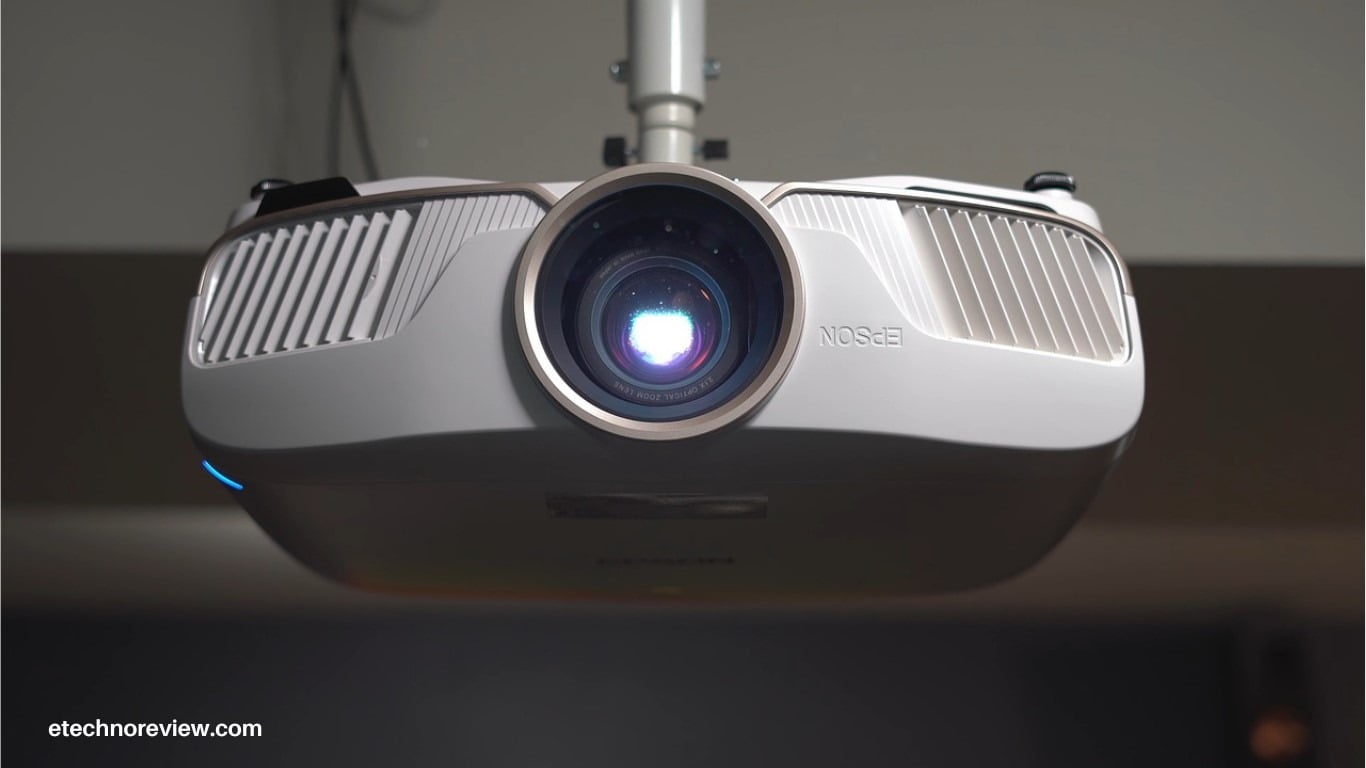
Attaching the Projector: Secure the projector to the mount as per manufacturer instructions. Double-check the stability and correct any wobbles before moving on.
4. Cable Management
Hide your cables using clips or conduits that match your ceiling color for an unobtrusive appearance. Run power, HDMI, and any other required cables from the projector to the power source/AV equipment, ensuring they’re secure and don’t hang loosely.
5. Adjusting the Projector
Turn on the projector and adjust the lens focus until the image is sharp. If the image isn’t centered or is distorted, use the projector’s keystone correction and lens shift features. This can take time and patience to get right, but it significantly enhances the viewing experience.
Safety Precautions
Make sure the projector and mount are secured firmly to avoid accidents. Never touch the lamp with your bare hands; oils can shorten its lifespan. Also, ensure adequate ventilation around the projector to prevent overheating.
Maintenance and Troubleshooting
Clean the projector lens and air filter regularly to prevent dust buildup. If the image appears dim or the colors seem off, it could be time to replace the lamp. Always replace with lamps recommended by the manufacturer to ensure safety and compatibility.
Ceiling-mounting a projector is an advanced DIY task that requires patience, precision, and a little bit of tech-savvy. But with this guide, the process should be straightforward. Enjoy your new home cinema!


Leave a Reply