
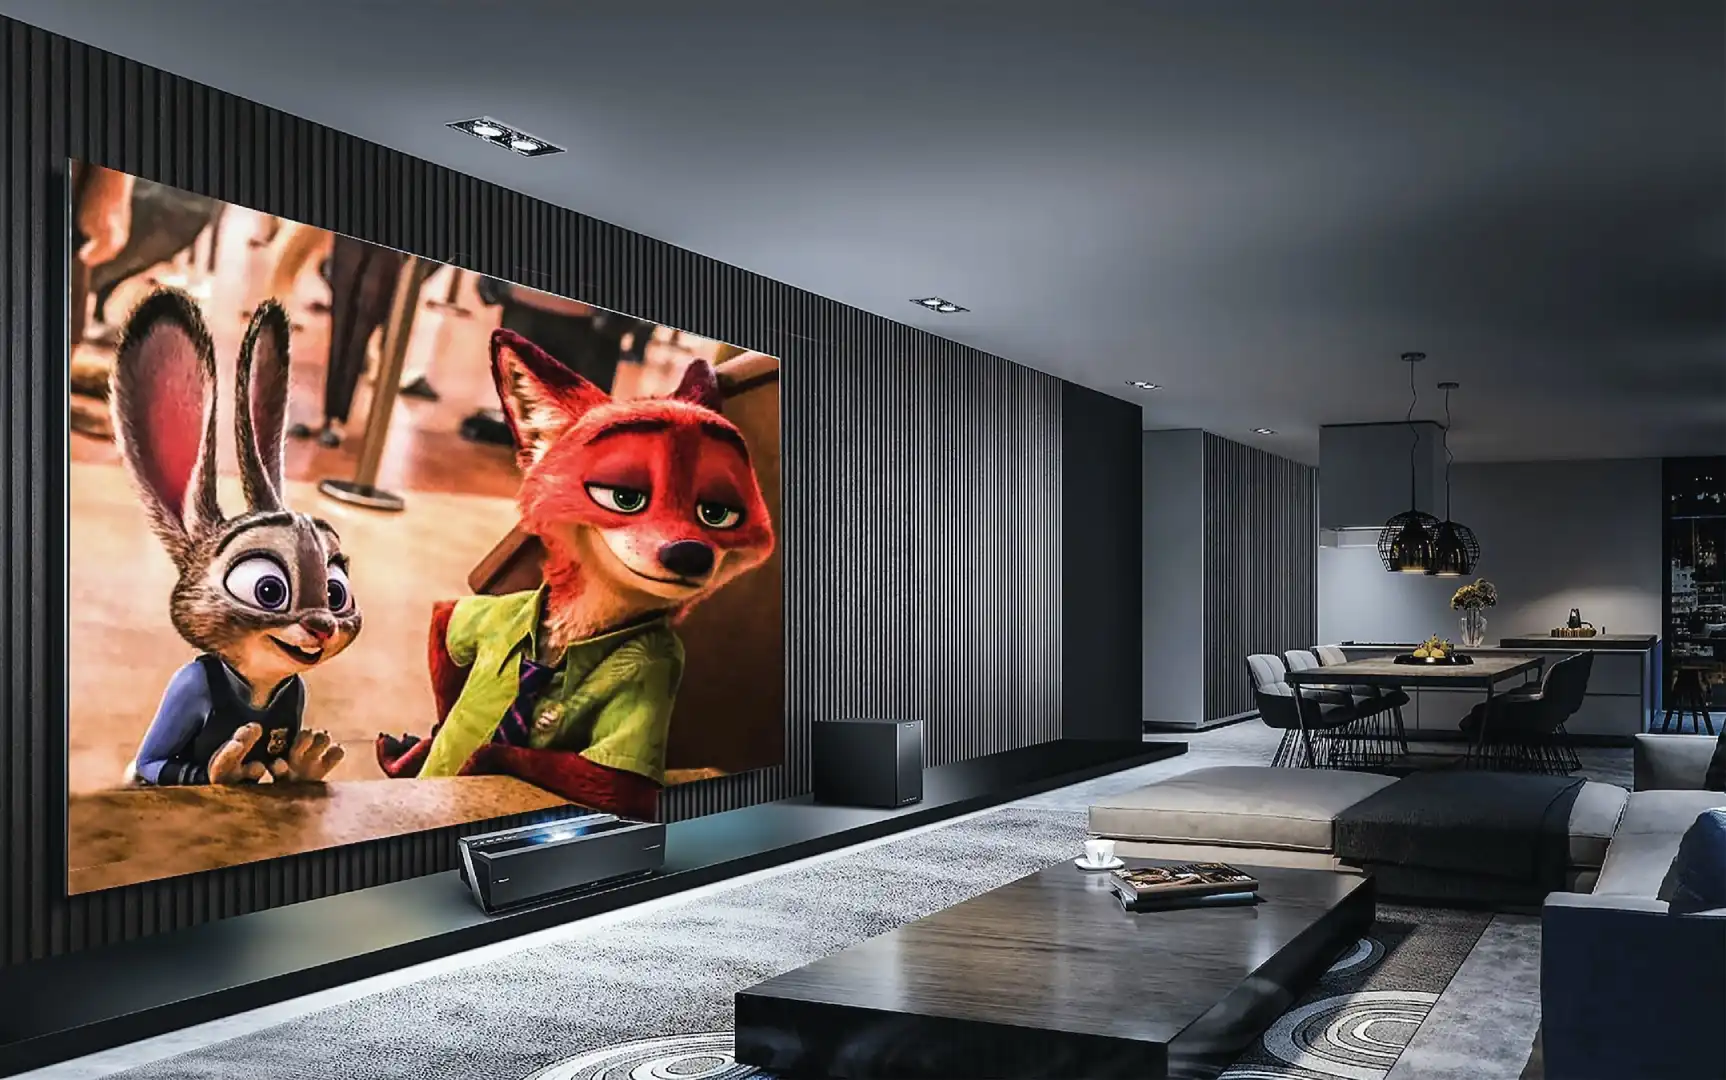
The advent of advanced projector technology has revolutionized the home theater experience. Now, you can transform your humble living room into a cinematic paradise easily just by doing an advanced living room projector setup.
Gone are the days of bulky television sets and limited screen sizes; today’s enthusiasts can enjoy a custom-tailored visual journey that rivals any commercial theater.
This guide delves into the intricacies of creating the ultimate projector setup step by step, ensuring every film is a spectacle to behold.
Step-1: Choosing the Right Projector
DLP vs. LCD vs. LCoS
Selecting the heart of your home theater starts with understanding the types of projectors available. DLP (Digital Light Processing) projectors are known for their sharp images and reliability, utilizing a chip made of tiny mirrors.
LCD (Liquid Crystal Display) projectors offer vivid colors and are typically more cost-effective, while LCoS (Liquid Crystal on Silicon) projectors blend DLP’s sharpness with LCD’s vibrant colors for a superior image.
The choice is contingent on whether you’re setting up in a basement den or a living room with ambient light.
Understanding Lumens, Contrast, and Resolution
The brightness of a projector is measured in lumens, with higher numbers necessary for well-lit rooms. The contrast ratio defines the difference between the darkest and brightest parts of the image, which is crucial for deep blacks and bright whites.
Resolution is the detail of the image, with 4K providing a profoundly detailed picture, ideal for large screens.
HDR enhances the color and contrast, making the visuals pop, while laser projection offers longevity and superior color accuracy.
Related: Best Projector Under $300.
Step-2: Screen Considerations
Size and Material
The screen is just as important as the projector. A larger screen immerses you in the action, while the screen material can enhance reflectivity and color reproduction.
Matte white screens are standard, but grey screens can improve contrast in ambient light conditions.
Fixed vs. Motorized, ALR Screens
Fixed screens provide a constant and taut surface, while motorized screens disappear when not in use, ideal for multi-purpose rooms.
ALR screens are designed to reject ambient light, offering improved performance in bright environments.
Calculating the optimal screen size involves a formula incorporating viewing distance and horizontal resolution, ensuring everyone has the best seat in the house.
Step-3: Room Setup and Projector Placement
Creating the ideal environment for a projector setup extends beyond the technical specifications of the devices themselves—it involves careful consideration of the room’s characteristics to enhance the overall viewing experience.
Room Preparation
Color Schemes: The colors used in a room have a profound impact on perceived image quality. Dark, neutral colors are recommended for walls, ceilings, and floors to minimize light reflection and absorption.
These colors do not distract the viewer’s eye and increase perceived contrast, making the colors on the screen pop more vividly.
Light Control: The amount of ambient light in the room is critical. For the best contrast and color accuracy, control the light using blackout curtains or shades on windows and doors.
For rooms where complete darkness isn’t possible, a projector with a higher lumen output and an ALR screen can help maintain image quality.
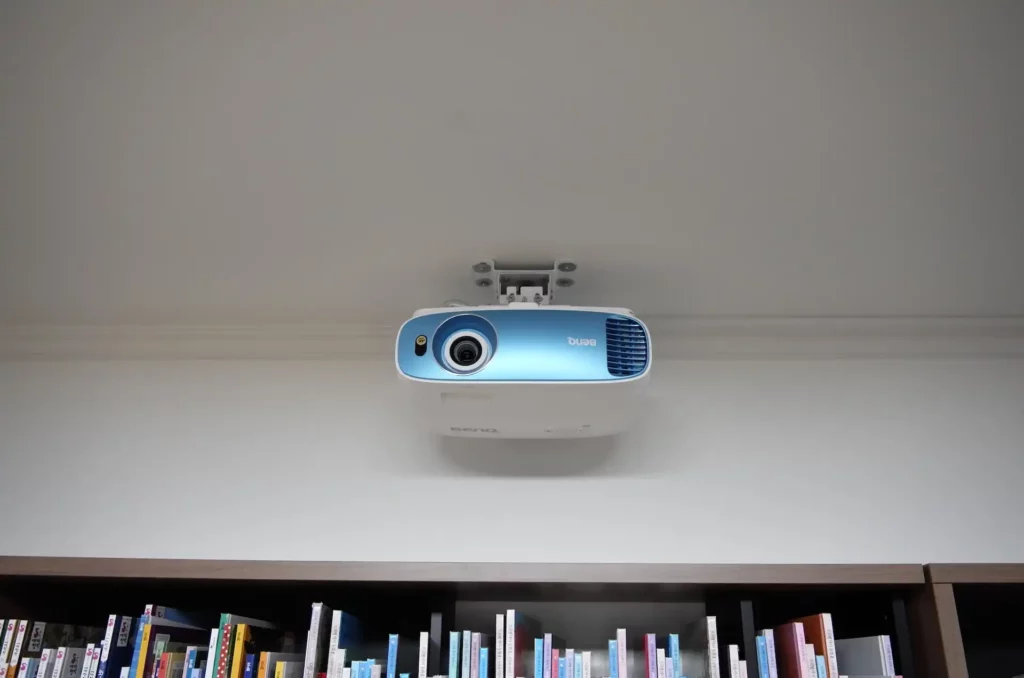
Mounting Options
Ceiling Mounts: A ceiling mount is ideal for a dedicated home theater setup. It keeps the projector out of the way, saves space, and reduces the risk of the projector being knocked or misaligned.
However, installation can be more complex and may require professional assistance to ensure secure and proper alignment.
Shelf Placement: Using a shelf for the projector offers greater flexibility and easier access. It is simpler to set up and adjust without the need for specialized mounting hardware.
On the downside, it takes up room space and may not provide the ideal projection angle, leading to potential image distortion.
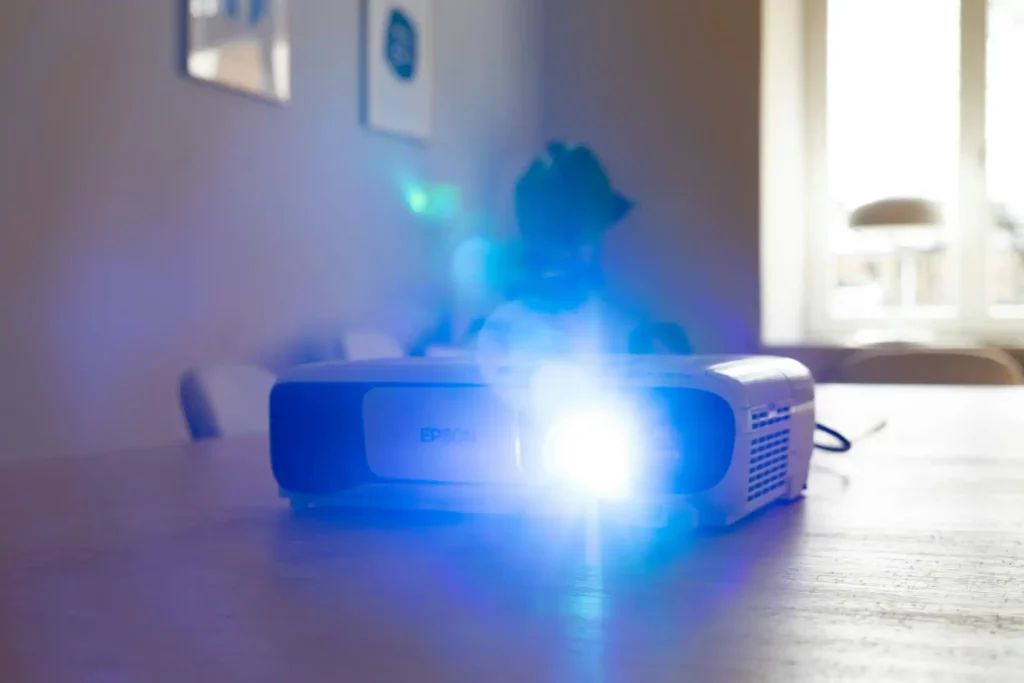
Image Alignment Features
Keystone Correction: This feature allows you to adjust the angles of the image when the projector is not perfectly perpendicular to the screen, which can result in a trapezoidal image shape.
Digital keystone correction can quickly solve this issue, but it may slightly reduce image quality due to digital manipulation.
Lens Shift: Unlike keystone correction, lens shift physically adjusts the lens to align the image with the screen without any digital alteration, preserving the image’s integrity.
It provides more flexibility in projector placement as you can move the image vertically or horizontally without moving the projector itself.
This feature is highly desirable for maintaining the best possible image quality but is typically found on higher-end models.
Combining these room and projector placement strategies will provide a robust foundation for a superior home theater experience, ensuring that both video and audio are optimized for the most immersive viewing possible.
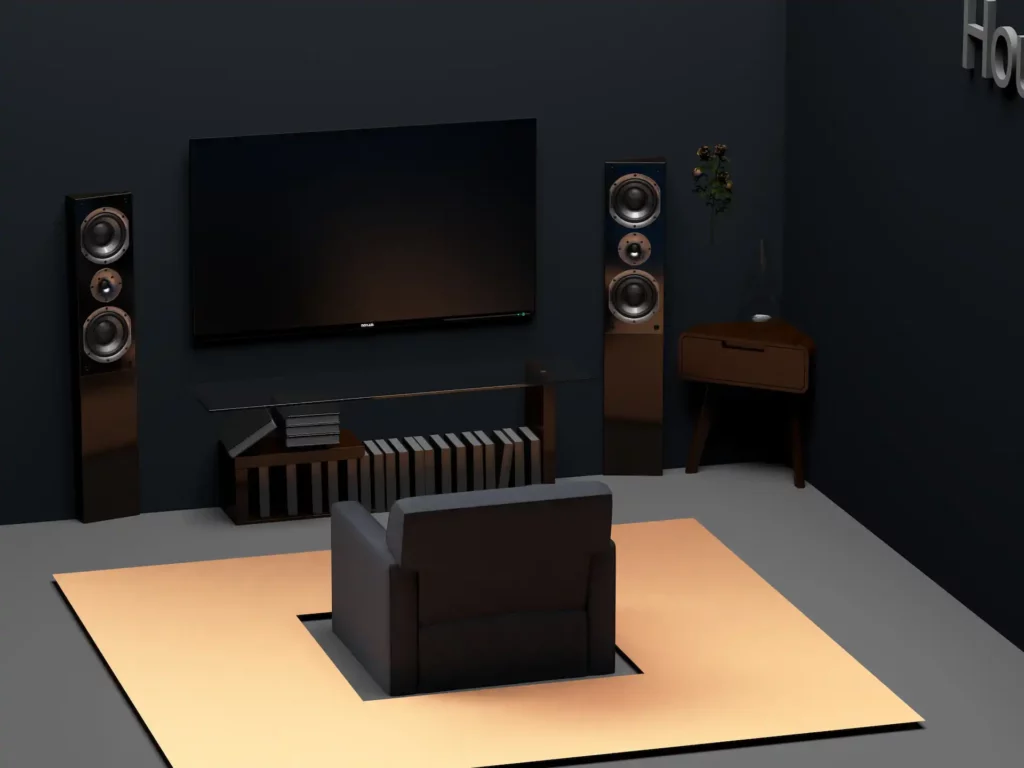
Step-4: Sound Optimization for Living Room Projector Setup
In a home theater setup, the auditory experience is just as pivotal as the visual. A well-conceived sound system can envelop the viewer in a soundscape as vivid and detailed as the projected image.
Integrating a Surround Sound System
When integrating a surround sound system with your projector, consider the following:
Receiver Compatibility: Ensure that your AV receiver or processor can handle the number of channels you plan to use and is compatible with your other devices.
Speaker Types and Placement: The layout of your room will dictate the number and type of speakers. A 5.1 system is standard, but 7.1 or Atmos setups with ceiling speakers can create an even more immersive experience.
Main speakers should be at ear level when seated, while surround speakers can be placed slightly higher.
Wiring: Speaker wiring needs to be planned in conjunction with projector placement to keep the room tidy and prevent tripping hazards or signal interference.
Subwoofer Position: The subwoofer can usually be placed anywhere in the room due to the non-directional nature of low frequencies, but experimenting with positioning can optimize bass response.
Acoustic Treatments
Managing the room’s acoustics can significantly enhance sound quality. Use rugs, curtains, and furniture to absorb unwanted echoes and place bass traps in corners to manage low frequencies.
For dedicated rooms, consider professional acoustic panels to absorb or diffuse sound appropriately.
Soundbars in Projector-Centric Living Rooms
While traditional surround sound systems provide the best audio experience, not all living rooms can accommodate them. In such cases, a soundbar can be a powerful alternative.
Advantages: Soundbars offer a clutter-free setup with fewer cables and are generally easier to install than a full speaker system. Many modern soundbars include wireless subwoofers and can simulate surround sound through advanced acoustic technologies.
Considerations: While soundbars work well in smaller spaces or for those seeking simplicity, they can’t fully replicate the immersive experience of a multi-speaker surround sound system.
Placement is also crucial; ideally, the soundbar should be centered with the screen for the audio to align with the visuals.
Step-5: Connectivity and Integration
A top-tier living room projector setup isn’t just about the visual quality; it’s equally about how the device connects and communicates with other media components.
The richness of content and ease of access define the modern viewing experience.
Connection Options
HDMI stands for High-Definition Multimedia Interface, the ubiquitous standard for transmitting both high-definition video and audio over a single cable.
It’s the go-to for connecting Blu-ray players, gaming consoles, and streaming devices to your projector. Many projectors now offer multiple HDMI ports, enabling you to switch between sources effortlessly.
Wireless streaming is another pillar of modern connectivity. Projectors with built-in Wi-Fi or compatible dongles can receive content wirelessly from smartphones, tablets, or computers.
This is particularly useful for streaming services, sharing videos, or extending your mobile screen.
Network integration for smart projectors means they can join your home network just like any other device.
This allows for advanced features such as streaming content directly from network storage (NAS), using the projector as part of a multi-room setup, or even remote access and control of the projector over the internet.
Cable Management and AV Integration
Cable management is a critical yet often overlooked aspect of creating a sleek home theater. Proper management ensures that cables are not only hidden but are also arranged to prevent interference and are easily accessible for maintenance or upgrades.
Integrating an AV receiver can be the cornerstone of any home theater system. It acts as the central hub for audio and video processing and distribution.
The receiver can handle multiple inputs, manage audio decoding for surround sound setups, and send the right signals to the projector and speakers.
Similarly, modern media players are often essential components, especially for those who prefer streaming content over physical media. They can provide access to a plethora of streaming services and playback options, all while being controlled by a single remote or even a mobile app.
The ideal living room projector setup strikes a balance between high-quality physical connections for the best signal integrity and the convenience of wireless for ease and aesthetics. Getting this mix right ensures a projector setup that is both high in performance and user-friendly.
Step-6: Calibration for Perfect Living Room Projector Setup
Calibration is the fine-tuning of your theater, with discs, professional services, and software ensuring your projector’s colors are true to the director’s vision. It’s a step that refines the experience from great to exceptional.
Check out Best Projector Under $500.
Step-7: Smart Features and Remote Access
In the realm of advanced living room projector setup, the integration of smart features is not just a convenience; it’s a game-changer.
The contemporary projector is no longer a standalone device but a pivotal component of the connected home.
Voice Commands and App Integrations
Voice command capability allows users to control their projector with the ease of spoken words. Compatible with digital assistants like Amazon Alexa or Google Assistant, this feature can manage everything from power to playback without lifting a finger.
App integration extends this control, providing a user-friendly interface on smartphones or tablets. These apps can adjust settings, switch inputs, and even mirror content from mobile devices to the projector screen.
Remote adjustments via dedicated remotes or apps are particularly useful. They can refine focus, zoom, and lens shift, ensuring the image remains crisp and well-aligned without manual intervention.
This level of control is essential for those who demand precision in their viewing experience.
IoT for a Seamless Experience
The Internet of Things (IoT) elevates the functionality of smart projectors further. By connecting the projector to the home network, users can seamlessly stream content from various online sources and integrate their projector into their home automation routines.
For example, a movie night can be initiated with a single command, dimming the lights, lowering a motorized screen, and starting the projector.
IoT devices can communicate with each other, allowing the projector to work in concert with other smart home devices. Sensors can adjust projector settings based on ambient light, smart speakers can align with the audio output for a synchronized auditory experience, and security systems can pause playback if an interruption is detected.
An advanced living room projector setup can transform your media consumption into an event. It’s a blend of technology, personal preference, and a touch of magic.
This guide is your first step towards curating a personalized cinema that not only impresses but also transports you, film after film. Experiment, adjust, and enjoy the show.
FAQs
On Living Room Projector Setup
Q1: How do I choose the right projector for my living room?
A: Consider factors like room size, screen size, ambient light conditions, resolution, and your intended use.
It’s also essential to set a budget and read reviews to find the best projector for your needs.
Q2: Where should I place the projector in my living room?
A: The ideal projector placement depends on the room’s layout. Common options include ceiling mounting, wall mounting, or using a projector stand or shelf.
Ensure it’s aligned with your screen and has proper ventilation.
Q3: Can I use a white wall as a projection screen?
A: Yes, a white or light-colored, smooth wall can work as an improvised projection surface.
However, a dedicated projector screen typically provides better image quality and reflects light more evenly.
Q4: Do I need external speakers for better audio quality?
A: The projector’s built-in speakers may not offer the best audio quality.
For a more immersive experience, consider using external speakers, a soundbar, or a home theater audio system.
Q5: Can I use a projector during the day, or is it best for nighttime viewing?
A: Projectors can be used during the day, but they perform best in low-light or dark environments.
Brighter projectors or screens designed for high ambient light conditions may be suitable for daytime use.
Q6: Can I connect my projector to the internet for streaming content?
A: Many projectors have built-in Wi-Fi or support external streaming devices like Roku or Amazon Fire Stick, allowing you to stream content directly.
Check your projector’s capabilities for internet connectivity.